|
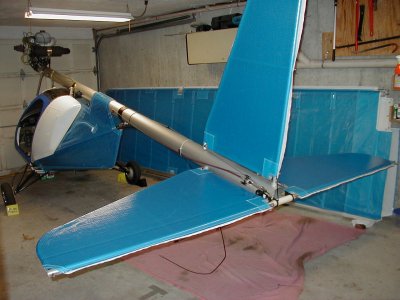
The Flighstar is too tall to freely wheel in and out of our garage door. But, by tipping the tail down, we can easily get the plane in and out. So, we assembled the tail surface in the garage. |
|
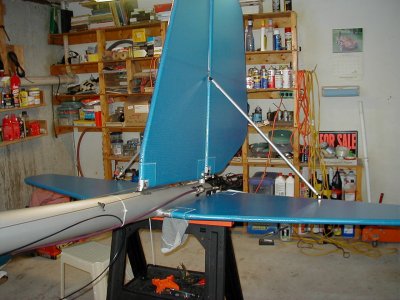
Another shot of the tail with the Rudder and Elevators added. |
|
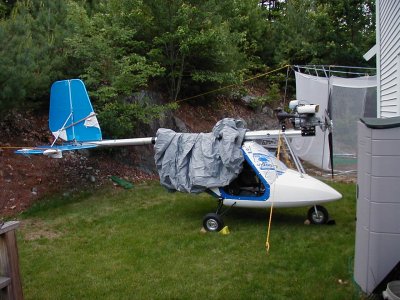
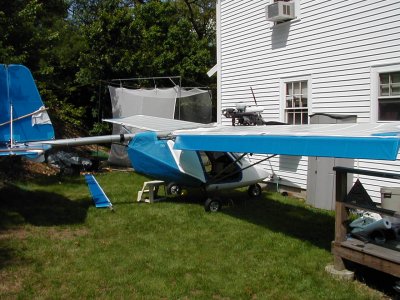
Our back yard is none to big. But, it was adequate for putting the plane together. This photo also shows the beginning of our first experiment in using inexpensive Budge auto covers to make covers for the Flightstar. The low cost Budge cover for a full-size (19 foot) car is only $20.00. More on this later. |
|
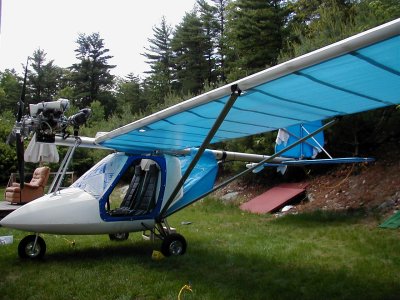
The left wing gets mounted for the very first time. Everything lined up perfectly. Over time, you really develop an appreciation for how much is done for you by purchasing a Flightstar kit. Just think about it. All those holes, pre-drilled, spar and boom tube doublers are pre-cut and installed, the skins are all pre-sewn and ready to slip on, et cetera, et cetera. For all you wannabe designers out there. Give this a lot of thought. |

|
The left wing viewed from our upstairs bedroom window. The box shaped net you see in the background is my golf practice area. |
|
Mounting the ailerons. The most tedious part of this process is getting the settings of the spacer washers correct between the eye-bolts on the rear wing spar and the main aileron spar. |