|
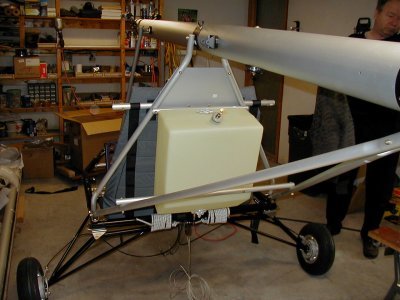
You have to attach two horizontal tubes to the 10 gallon gas tank. After that, it gets mounted to the upright tubes just behind the seat. It was a little fussy getting the four holes to line up perfectly. But, patience will get the job done. |

|
This photo shows how we used our Home-Depot saw horses to start the wing assembly. You'll find that the wing "box" is amazingly easy to build. It really amounts to nothing more than a rectangle of the leading and trailing edge spars, a few interplane tubes, and drag wires. Eye bolts are used to attach the interplane tubes to the rear spar. They are used later as aileron hinge points. |
|
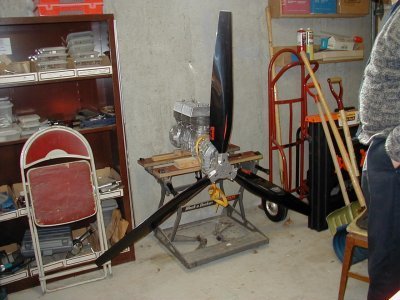
We took the motor out of it's shipping crate and set it up on our work mate. After that we took the PowerFin prop out and did an eye-ball assembly of it. You'll find that the PowerFin manual is very complete. The only thing I'll say about the PowerFin prop is, ignore the setting dowel method the book provides for pitching your prop. Instead, just spring for the $35.00 or so that a Warp Drive Protractor costs. You'll fiddle with prop pitch settings several times before you get it right. And, the protractor makes the job much, much easier than using the dowel method. |