|
In week one we upacked everything and read the manual Organizing the parts into "Glad" tubs and Tackle box organizers |

|
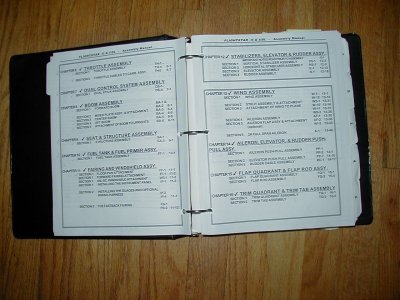
The FlightStar manual is really first rate. Each chapter covers a complete sub-section of the airplane. Each chapter is divided into subsections Each subsection contains three things:
|
|
Organize parts
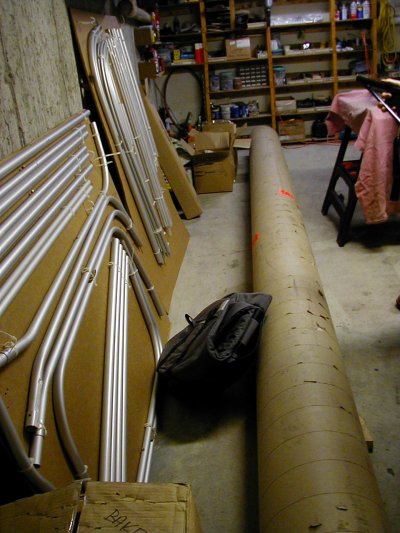
This is pretty much what your shipment will look like after you get it off the truck. All of the longer tubes (wing spars, boom, aileron spars, etc) are in the large shipping tube. The remaining tubes are tie wrapped to the sheets of cardboard you see leaning on the wall. Each tube has a sticker with its part number id on it. (I'd recommend you buy some "Goo Gone" to remove the stickers as you use each part. You'll also find that each of the sub-assemblies has a prefix character on all of the parts. For example:
The rest of the hardware parts come in plastic baggies. I recommend you divide them up into "Glad" tubs and tackle boxes. |
|
Booms and Struts
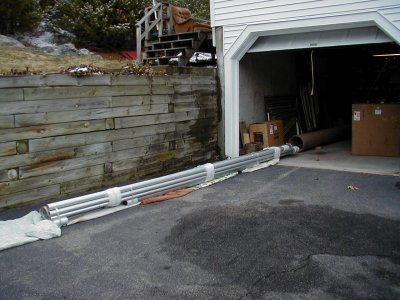
This photo shows what's inside the big shipping tube. Obviously, it's all of the long stuff.
After we removed the tubes, we cut the shipping tube in half, lengthwise and used it as a storage device. |
|
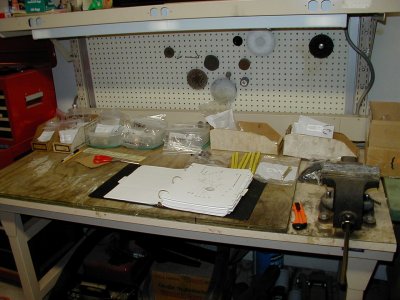
Here's our main workbench. Not much too it. But
it gets the job done.
I can't emphasize enough, taking some time to organize the small stuff You'll be very glad you did, later on. |

|
More organization stuff
Here's some more shots of our "Glad" tubs, Tupper ware bins, and cardboard magazine organizers we used to organize our part. That black donut you see, is one of the tires. |